That Time I Was Quoted $1300 for DIRT
Spring has finally sprung, and as the self proclaimed Mediterranean Barefoot Contessa x Garden Girl, it's my time to shine. Today, I’m excited to share my journey of building raised garden beds from Eartheasy. These beds are made of beautiful cedar-treated wood and are designed with sustainability in mind.
The Quote That Sparked a Journey
Imagine my shock when I was quoted $1300 for dirt to fill my garden beds. Yes, you read that right—one thousand three hundred dollars for dirt! This surprising moment kicked off my quest for a more sustainable and affordable solution to create my dream garden.
The Assembly Process
The Eartheasy raised garden beds arrived quickly, with pre-cut and pre-drilled cedar pieces, screws, and clear instructions. All I needed was some wood glue and a screwdriver or drill. After laying out all the pieces and glancing at the instruction booklet (always read the instructions, even if you THINK you know how to build something), I found the process straightforward. Starting with the base, the pieces clicked together like a puzzle. Metal rods secured the corners and middle pieces, and it took me about 20 minutes to build each bed.
Filling the Beds Sustainably
Determined to be as sustainable as possible, I began gathering materials to fill my garden beds. Here’s a detailed look at the process:
Layer 1: Cardboard
I saved cardboard boxes from deliveries over the past four months, avoiding colored boxes to reduce dye leakage and removing as much tape as possible. The cardboard layer helps suppress weeds and retain moisture. It’s a fantastic way to recycle and create a solid foundation for your garden beds.
Layer 2: Leaves and Compost
I saved a 15x15 tarp worth of leaves from the fall. These leaves create their own compost, making a perfect base. The ecosystem within these leaves will break down over time, enriching the soil with nutrients. This layer also improves soil structure and promotes healthy root growth.
Layer 3: Wood Chips
For the next layer, I used wood chips from ChipDrop, a fantastic service for free or affordable wood chips. Beware—you can’t specify the quantity, and I received a dump truck load of wood chips. After layering a few inches in the beds, I shared the excess on Facebook Marketplace to support my community. Wood chips help retain moisture, regulate soil temperature, and add organic matter as they decompose.
Layer 4: Soil
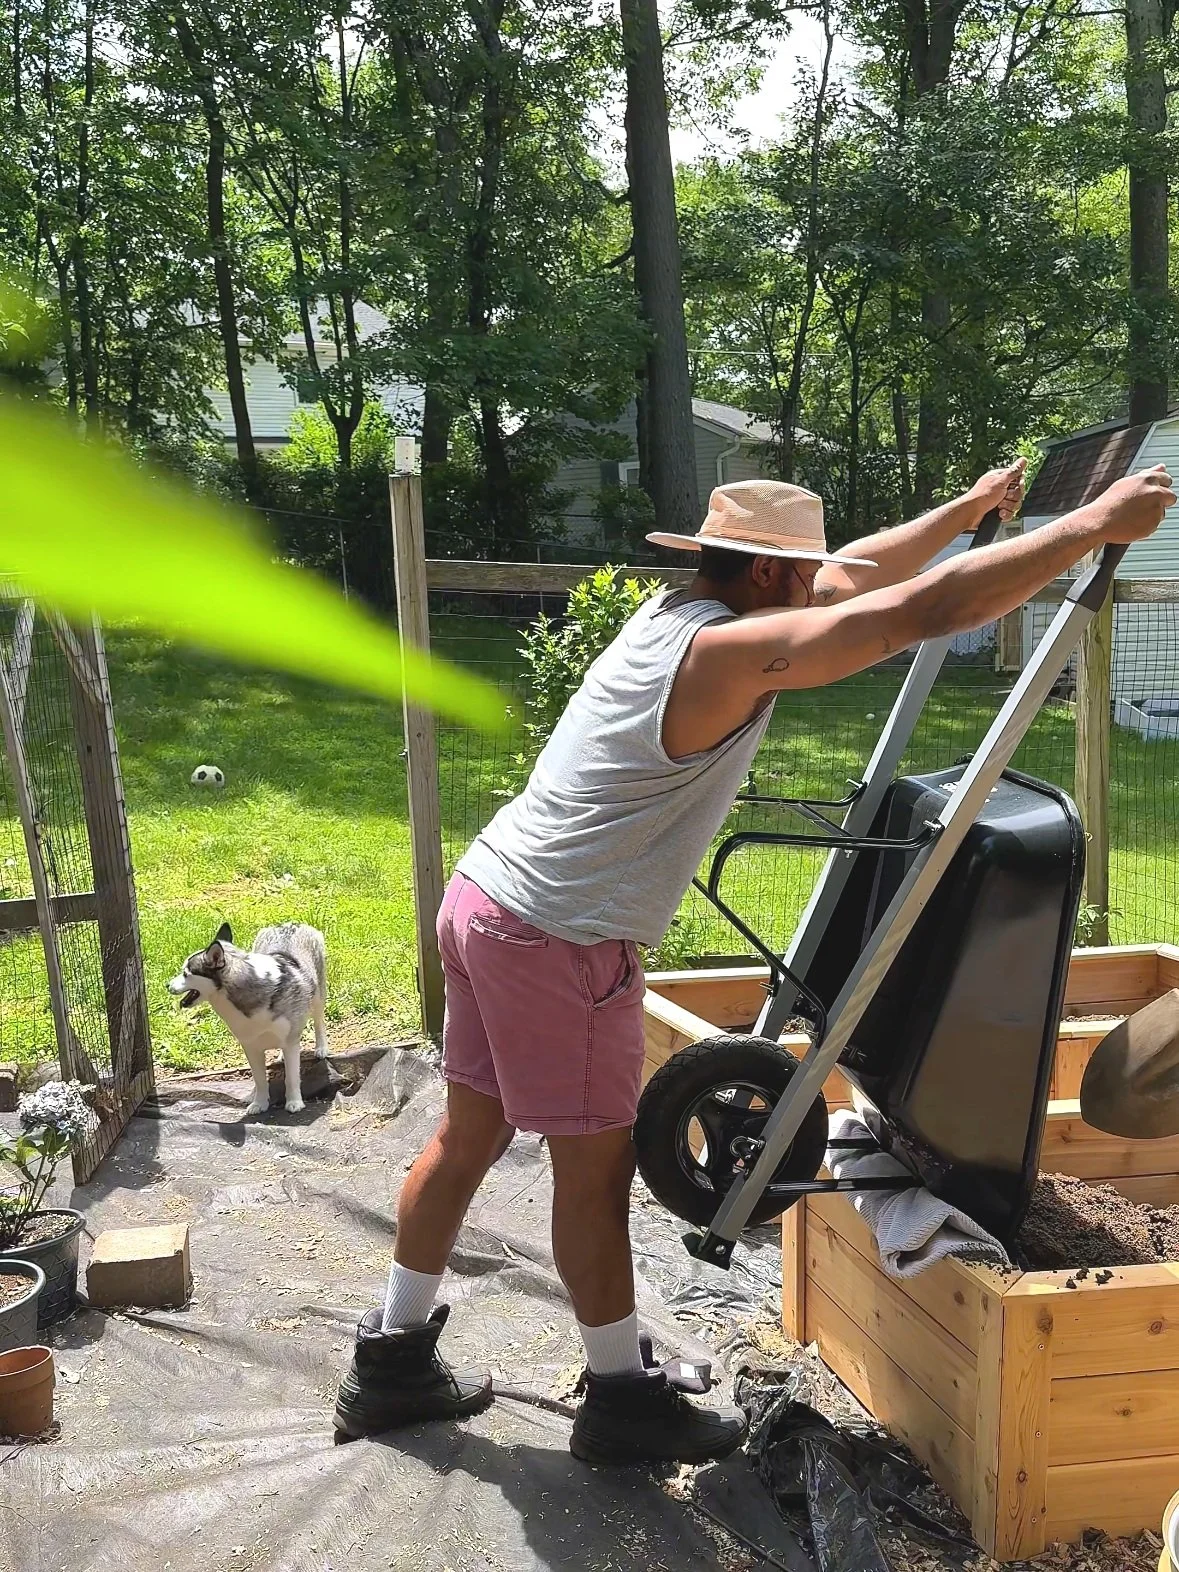
After the wood chips went into the beds, I used a local trucking company to bring me 3 yards of dirt, which cost less than $150 compared to the $1300 quote from local garden centers. The soil is the heart of the garden bed, providing essential nutrients for plants to thrive. I opted for a mix that would support a variety of vegetables, herbs, and flowers.
Final Layer: Manure Compost and Worm Castings
After the dirt went into the beds, I added Black Kow manure compost and mixed it well. I also threw in some worm castings for good measure. These amendments boost soil fertility, improve texture, and enhance microbial activity, creating a healthy environment for plant growth.
Transplanting and Growth
It's been two weeks since I transplanted flowers, vegetables, and plants into my garden beds, and they are thriving. The raised beds offer excellent drainage, and the rich, well-prepared soil provides a nutrient-dense environment for my plants.
Creating these raised garden beds was a rewarding experience, combining sustainability with practicality. From the initial assembly to filling the beds with eco-friendly materials, each step was a labor of love. If you're looking for home decor styling, curating, or sourcing, I'm here to help. Let's chat and bring more beauty into your home and garden. Thanks for being here and happy gardening!


